Thursday, March 15, 2012

Shrimp Pad-Prik-Khing


Let’s just say it right Pad-Prik-Khing.  Literally, pad meaning stir-fry; prik meaning chili; and khing meaning ginger.  It sounds wired, right?  When this dish has nothing to do with ginger at all!  And please don’t ask me why.  It’s been given this name for decades, before I was born!  I used to ask my dad the same question, and guessed what, he didn’t know either!   But I like to make up story, just for fun.  I think this dish used to add ginger instead of kaffir lime leaf.  And for some reasons, someone might have changed the recipe by using kaffir lime leaf instead of ginger and it was a hit and people love it….end of the story! 

Pad prik khing is another popular Thai dish and is so easy to make using red chili paste for its spicy with a distinctive flavorand taste of kaffir lime leaves that gives this dish such a unique and outstanding of all time.  Originally, this dish only uses green bean, with meat of your choice including seafood, but I’ve added some carrots and red bell pepper just to give it more colorful and fun to eat.  When cooking this dish, it usually uses a rather high heat than low.  So, quick sauté is required. And that mean all the ingredients need to be ready to add in while cooking.   Let’s have some fun.


What you need:
1 ½ lb fresh shrimp deveined
1 cup green beans cut about 1-inch long
1 cup carrots cut 1-inch long
½ cup red bell pepper julienned
2 tbsp Red curry paste
3 tbsp vegetable oil
2 tbsp (5 leaves) kaffir lime leaves finely julienned
2 tbsp fish sauce
1 tbsp sugar
¼ cup water


How to:


- Use a sauté pan or a wok on the medium-high heat and add vegetable oil into it

- Stir in red curry paste until it fragrant, about 3-4 minutes

- Add shrimp and sauté until it cooks through

- Add green beans and carrot follow by sugar and fish sauce for seasoning and add water immediately to keep it moist and help the cooking process go quickly for the beans and carrot, about 5 minutes.  If it becomes too dry, add a little bit more water but not too much.

- Add kaffir lime leaves and sauté for another 20 seconds, and you done!

Serve over jasmine white or brown rice as you desired. 

*hint – serve with poached egg on top to make it more delish!


^___^

Friday, March 9, 2012

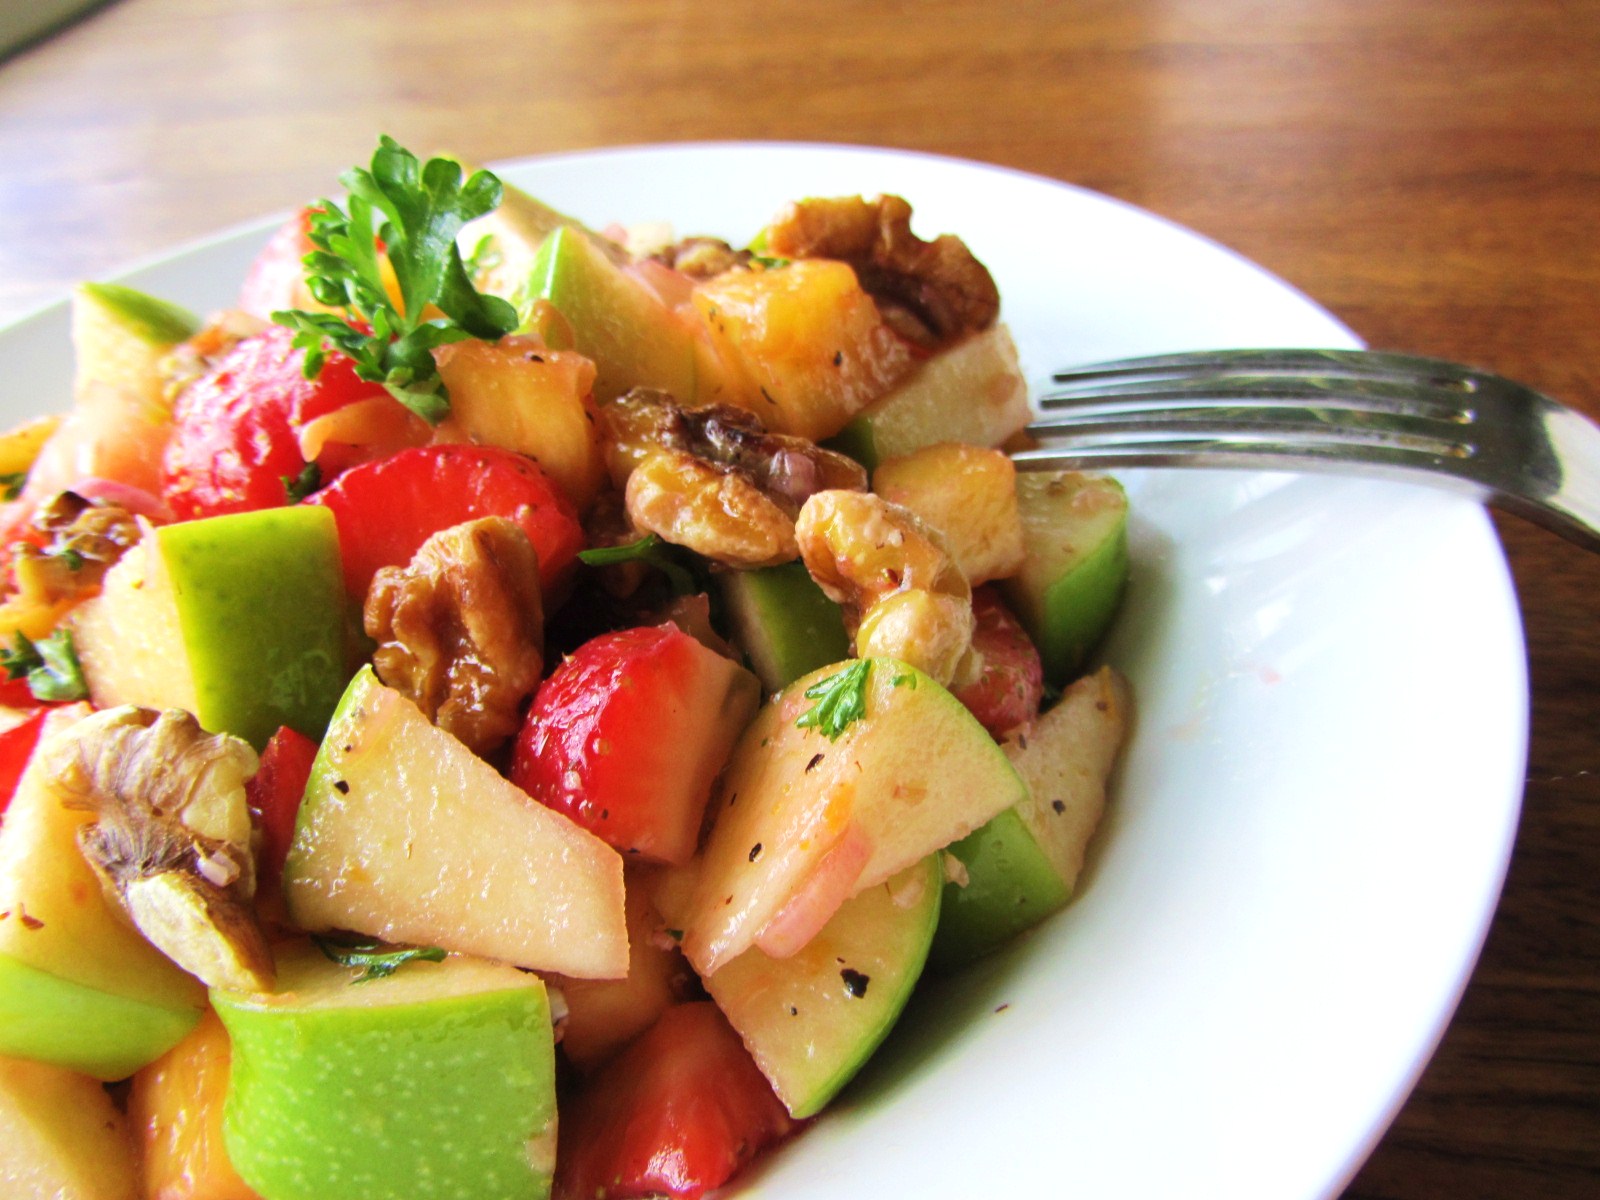
Fruit Salad n Roasted Walnuts with Lemony Honey Vinaigrette


Eating lunch at 12 p.m. is not my standard when my daily breakfast typically starts off with coffee and sometimes hard-broiled eggs or a piece of toasted whole wheat waffle, and then having fruit or yogurt for 11 a.m. snack.  And when I get home from work at 2:30 p.m., I will end up feeling a little bit hungry and find myself looking for something to munch on.  


So, I toss together this healthy salad of fresh strawberries, green apple, pineapple, and toasted walnut, which provide a rich source of the omega-3, with homemade lemony honey vinaigrette in a snap for a quick late lunch that could also be chilled and served at dinner time.   The quick lemon dressing with a hint of honey helps bring out the natural sweetness of the fresh fruit that you will love to make it more often for family and friends at the gathering, especially in the summer. 
 It’s healthy; it’s delicious!  Yummmmm…..


For the vinaigrette:

1 tbsp minced shallot

2 tbsp fresh lemon juice and zest
1 tbsp red wine vinegar

1 tbsp honey
¼ cup extra virgin olive oil
½ tsp ground cumin
Pinch of salt and pepper
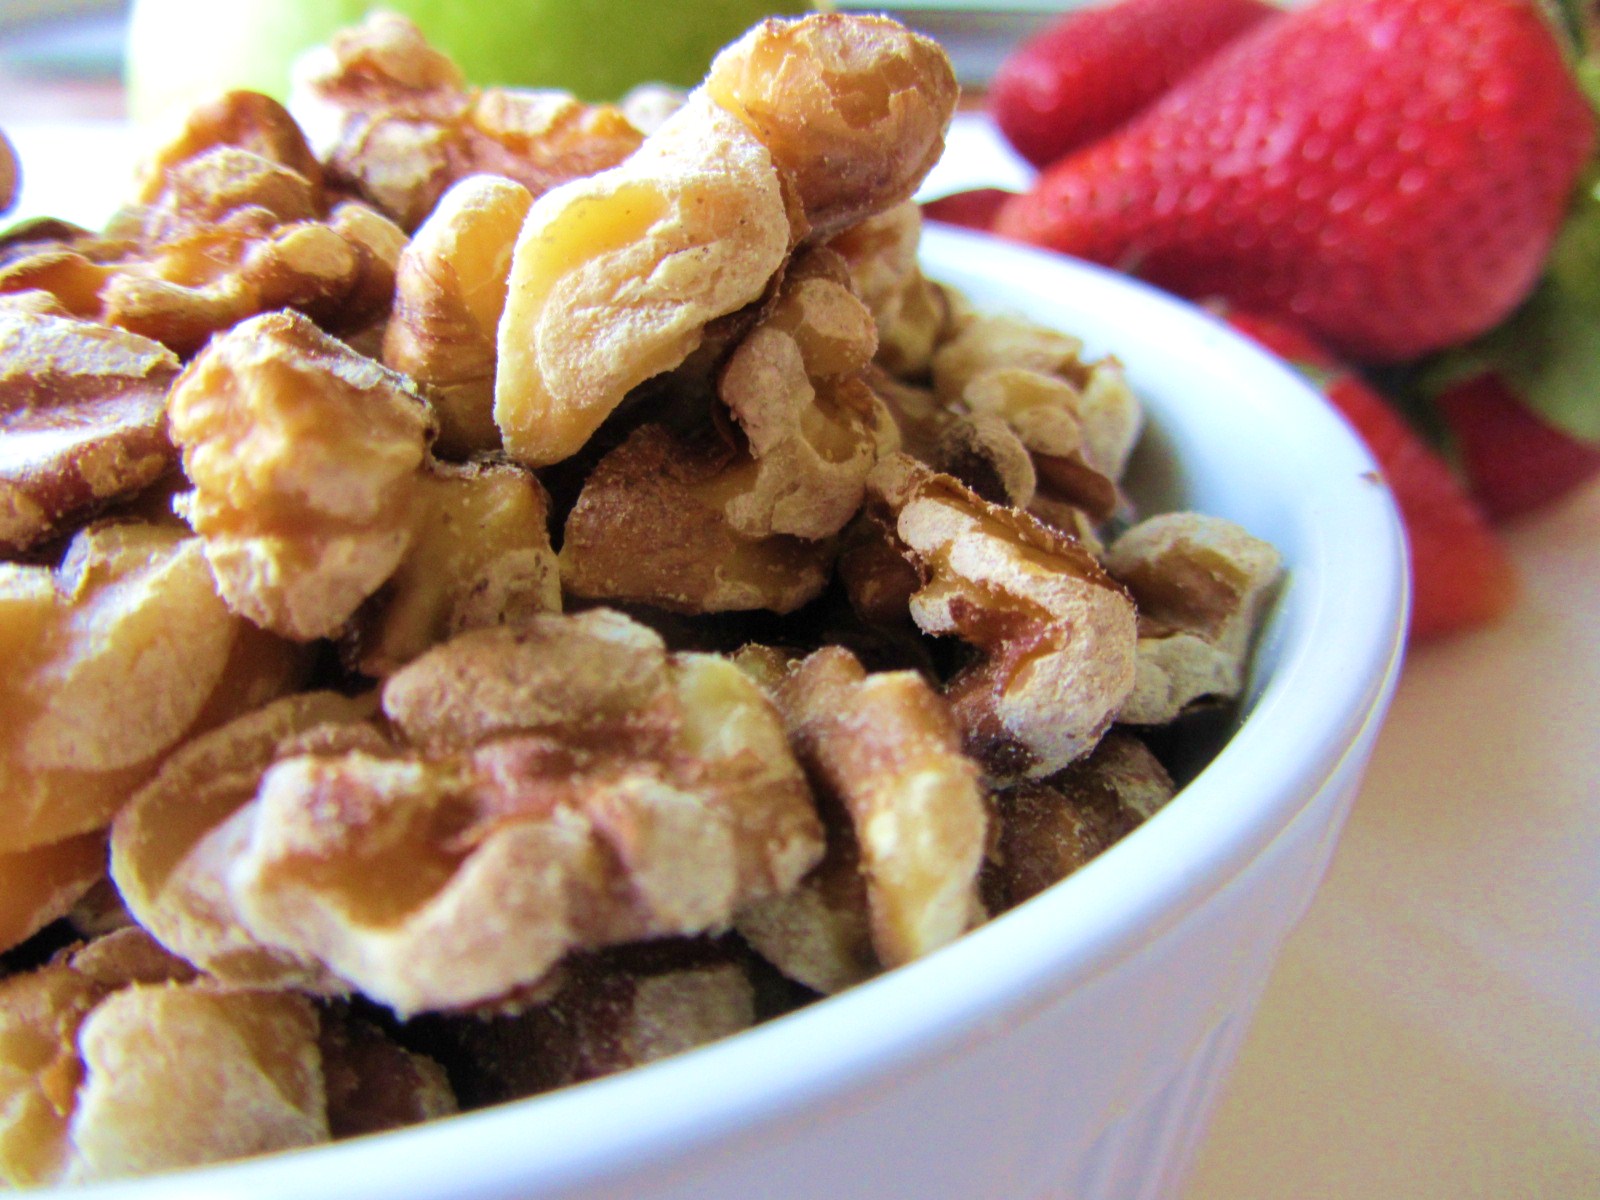
½ cup toasted walnuts

Fruit – cut into small pieces of strawberry, green apple and pineapple and other fresh fruit like kiwi, blueberries, cantaloupe, or melon.

Whisk together all the ingredients for the dressing and toss in a bowl of cut fruit, add toasted walnuts and sprinkle with a pinch of chopped parsley.

*if you have raw walnuts, toast them in the oven at 350’ F for 8-10 minutes until they turn golden and fragrant.

**chopped parsley - optional


Stay healthy my friends! 

 ^____^


Monday, March 5, 2012

Baked Chicken Rolls with Thai Peanut Sauce


This fun looking appetizer happened accidently since my original plan was to make spicy Tuna rolls; and the other plan was to make Thai chicken meatballs that would go with Thai spicy peanut sauce.  Sounded wonderful, right?!  And then my crazy thoughts said…hey…let’s do something else more fun than just spicy tuna rolls.  And this dish was the result of my daydreaming wanted to have some fun while cooking.   Certainly, I was so happy with the result!  The sushi chicken rolls on the stick served with tasty and little bit spicy Thai peanut sauce (recipe below) was an ideal for the party starter if you wanted to amaze your guests for weeks if not months.   However, if you’ve never made sushi before, you might don’t want to try this. But believe me, it’s not as hard as it looks and it doesn’t have to be perfectly rolls like when you are making sushi rolls.  The oven will do the work for you as long as you know how to roll paper into a pipe!  I promise, it simple and easy, but you have to try!   Let’s have some fun, shall we?


What you need:

1 lb ground chicken

1 medium egg

½ cup carrot shredded

¼ cup scallion thinly sliced

1 tsp sugar

2 tbsp oyster sauce

1 tsp salt

1 tsp white pepper powder

2 tbsp cornstarch

5 sheets roasted Nori seaweed

8 small Persian cucumbers cut 3/4-inch thick crosswise


**The sushi bamboo rolling mat – tool for rolling sushi but if you are a sushi expert, you probably don’t need it!

How to:  Preheat the oven at 400’F
 
1.  In a medium mixing bowl, combine all the ingredients and mix well, *except nori and cucumber.

2.  Prepare nori onto the bamboo rolling mat with the rough side facing upwards, the smooth and shiny side downwards

3.  Spoon over nori chicken mixture about 2-3 tablespoons and gently spread the mixture equally on the nori and leave the upper margin about 1 inch (as pictured)

4.  Using the closer edge of the rolling mat to help ease the rolling, gently and slowly outward.  This step might be a little messy because the soft mixture inside and that it cannot be tighten up, but don’t worry as long as you can make it into a roll it should be fine!

5.  Bake the rolls for about 18-20 minutes – you might notice that the roll is puffed and tighten up that because the mixture inside is cooked

6.  Remove and cut into ¾-inch thick crosswise and skew each with Persian cucumber

Serve with Thai peanut sauce.... Enjoy!


Thai Peanut sauce  - make about 3-4 cups
 
1 can/ 13.5 oz – coconut milk
¼ cup red curry paste
1 cup roasted unsalted ground peanut
1 tsp salt
¾ cup sugar
3 tbsp fresh tamarind pulp or white vinegar
½ cup water


In a small saucepan, dissolve red curry paste into coconut milk over medium-low heat. Add sugar, salt, tamarind pulp or white vinegar, water, and ground peanut.  Simmer for 5 minutes and whisking constantly to prevent the burn at the bottom of the pan.  Turn off the heat and let it cool down at room temperature before serving.  This sauce can be kept in the refrigerator for a couple of weeks.


Related Posts Plugin for WordPress, Blogger...