Thursday, February 19, 2015

Thai Duck Noodles Soup


Happy Chinese New Year everyone!   All of the Chinese people and those who has Chinese ancestors, like myself, celebrate this rich traditions in the most meaningful ways….with food!   And each food item is said to bring specific types of good fortune in the coming year.   As rice, tangerines and oranges for Good luck, spring rolls, dumplings, and whole fish for wealth and prosperity, long noodles for longevity, duck for happiness and pork for good health, they are sure on everyone’s wish list.   I think by eating these specific of good tasty food on the New Year with its significant meanings is just a win-win situation. 

Since noodles represent long life and duck represent happiness, I guess eating duck noodle soup on the Chinese New Year would give me a long happiness life, hopefully!    I determine to continue cooking and eating lucky food that symbolize good fortune for a couple of weeks.  Let's see if I can do it.   


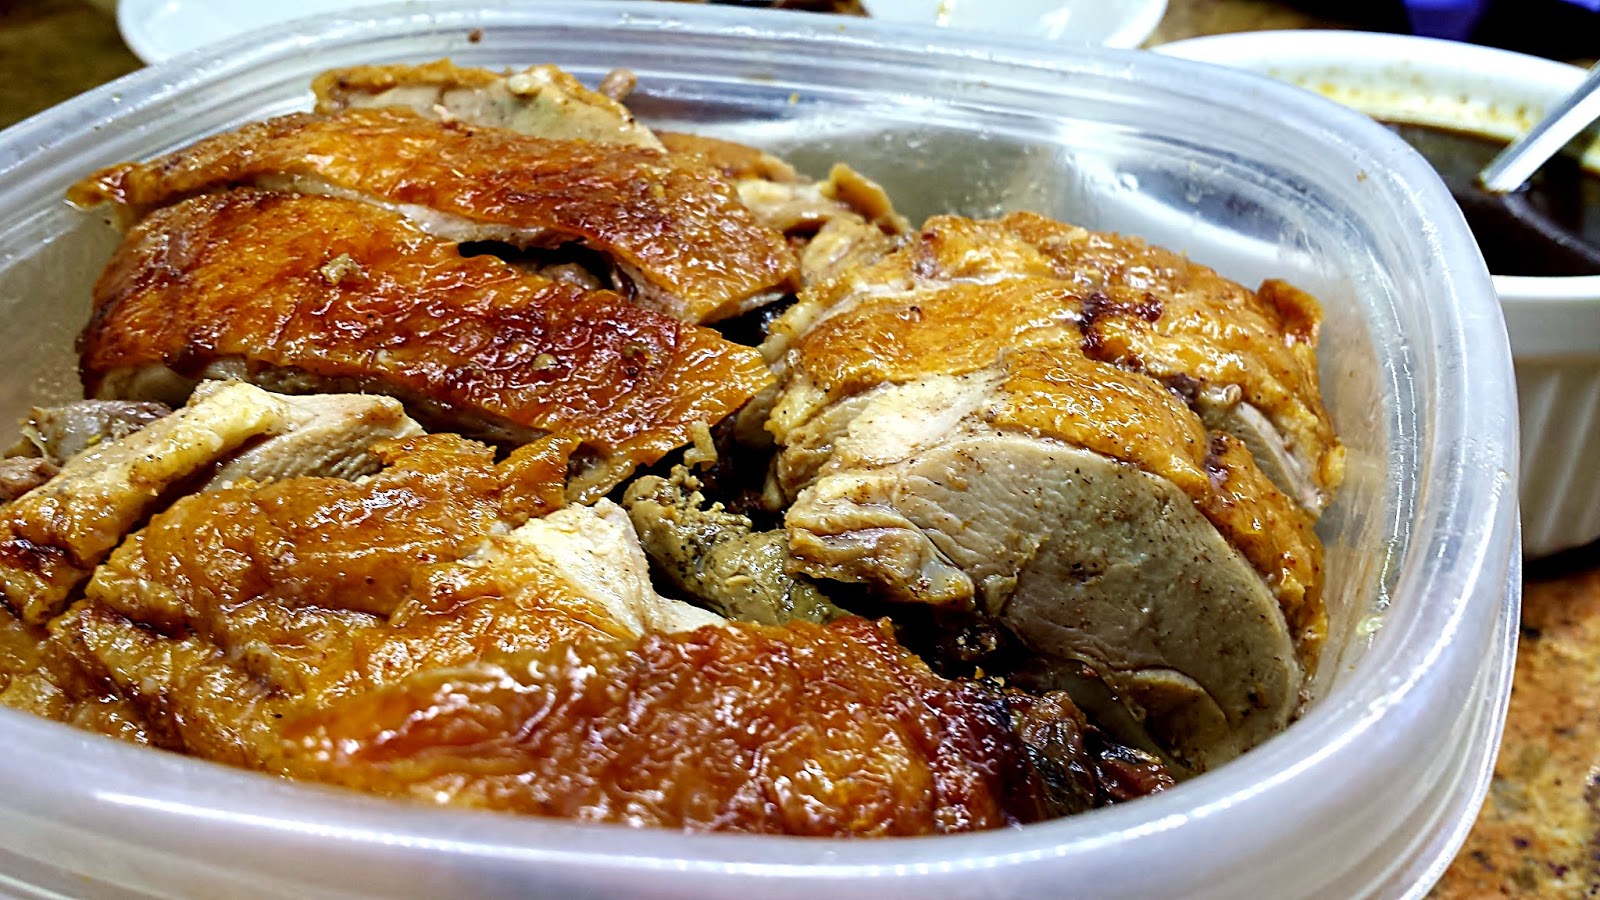
This bowl of duck noodle soup is pretty easy to make since the cooked duck can be purchased at the Chinese restaurant where they are also selling yummy dim sum.  When you buy the soy-braised duck, don’t be afraid to ask for a cup of sauce by telling them that you want to make duck soup.  They are happy and willing to fulfill your request.   Just ask!    Then, all you have to do is to add some more water to dilute that condense thick soy sauce and add some cloves, cinnamon sticks, star anise, fresh ginger, and daikon to improve the broth and seasoning some more with brown sugar for your liking.   Then, 
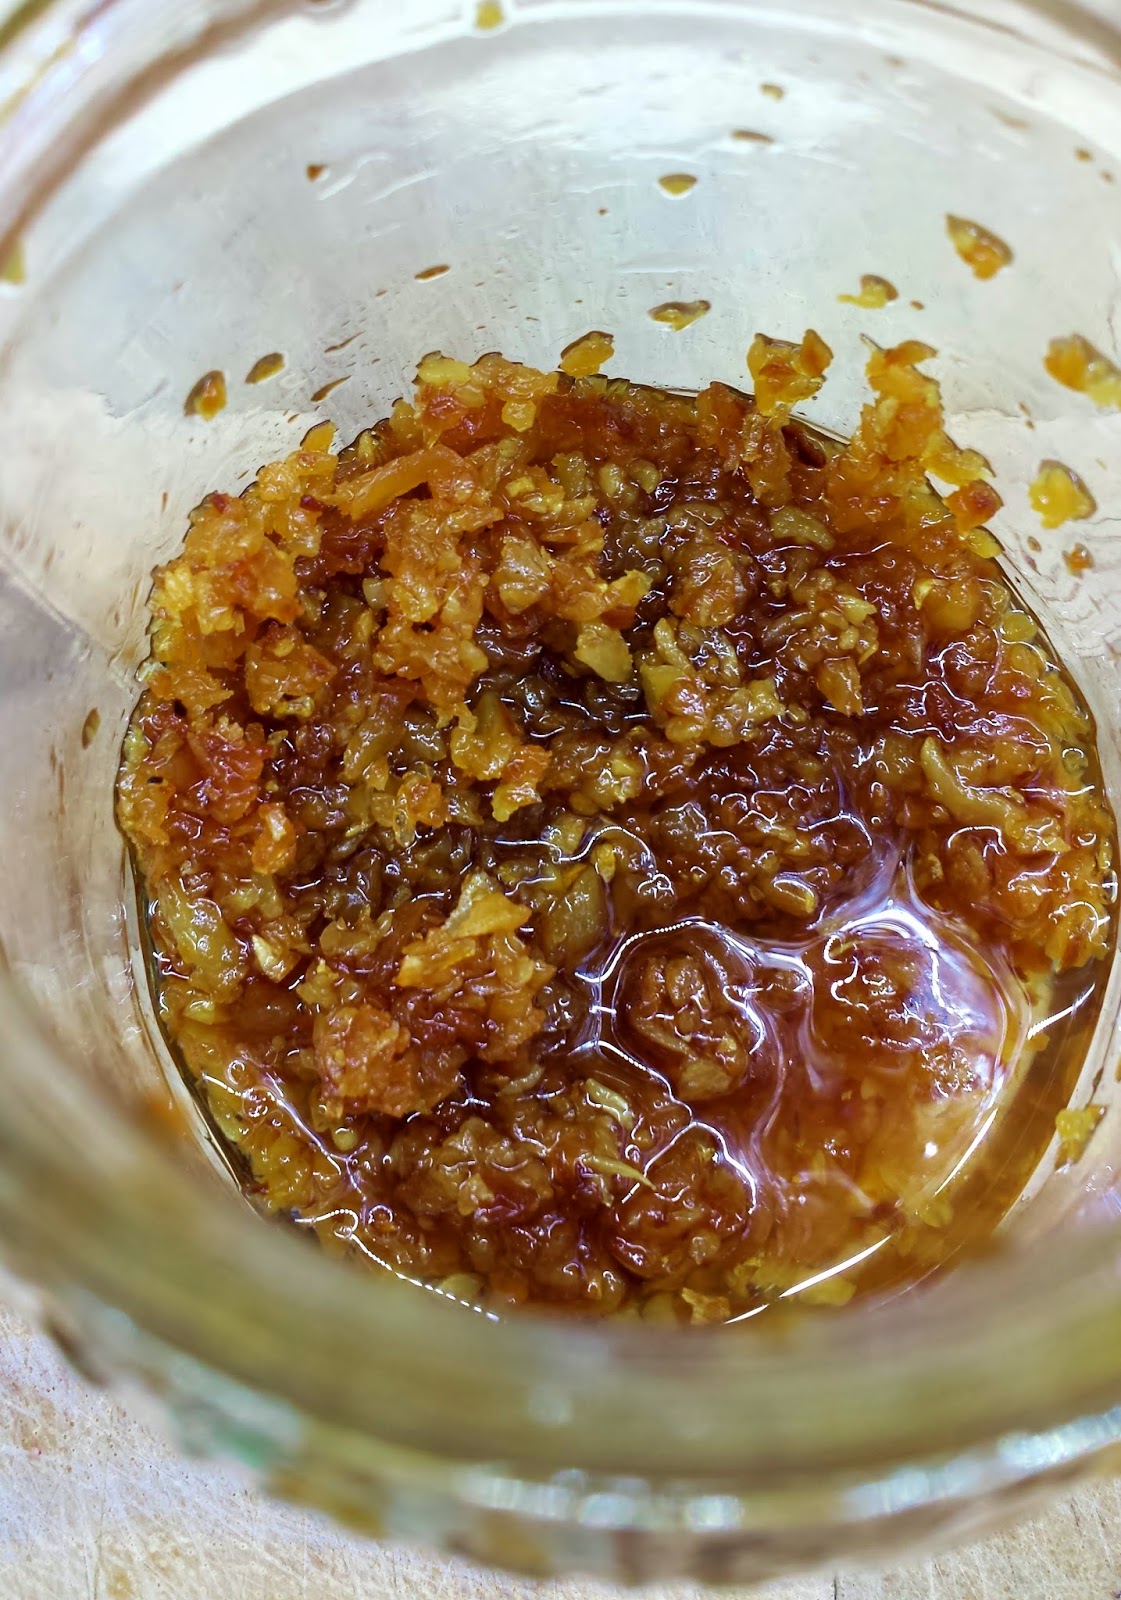
serve the soup with rice or egg noodles and veggies of your choices.  For the use of fried garlic, it can be skipped if you don’t have it.  But it will give the bowl tremendously the best flavor ever. 


What you need: *Can be served up to 4 -6 servings depends on the serving size
1 large store-bought soy-braised duck
1 cup seasoned dark soy sauce (that come with the duck)
1 stick cinnamon
2 star anise
2 cloves
8-10 cups water (or more if the sauce is thicker and salty, mine used 8 cups)
2 cups daikon, peeled and quartered (about a half of a medium daikon)
5-6 rounds fresh ginger slices  
Cooked noodles of your choice – rice noodles, egg noodles, or even vermicelli noodles – cook noodles accordingly to the package
Finely chopped green onion
Cilantro leaves
Blanched Spinach or Chinese broccoli
Beansprouts
Fried garlic with oil
Ground white pepper
Fresh red chili – optional
Condiments – vinegar, chili sauce, or dried red chili flakes 


1. Making the broth:

             -- Pick out the duck’s head, neck, and legs from other parts of the duck (see pictures)
-- In a large pot, add seasoned dark soy sauce, duck’s head, neck and legs, water, star anise, cloves, cinnamon stick, daikon, and ginger into the on the medium high heat and let it boils for 25 minutes or until the daikon is cooked.  Notes: Add more water if needed since the broth will reduce during the boiling.  
*In addition, seasoning with soy sauce or/and brown sugar if the taste of the broth is too weak as the broth should be a little salty from the soy sauce and a little sweet from brown sugar.  Daikon and ginger as well as spices really help improve the broth.  Mine was just right and didn’t need more seasoning.  Again, the taste of the broth depends on the sauce you got from store when you bought the duck.

2. Resemble the bowl:

                -- Add a handful of cooked noodles of your choice in a serving bowl
                -- Add blanched spinach or Chinese broccoli, or other greens of your choice – kale, broccoli, zucchini, cabbage, etc.
                -- Add a few pieces of duck meat
                -- Add 1/2 teaspoon or more fried garlic + oil
                -- Ladle the broth over as much or as little as you wish
                -- Sprinkle with ground white pepper, green onion, cilantro leaves, and some beansprouts
                -- Serve with condiments as an extra seasoning as your preferred taste  


Thursday, February 12, 2015

Panang Pork Curry with Kabocha Squash


Once in a while I’m just craving for some good Thai curries that really truly hit the spot.  The curry I always make is red curry chicken with bamboo shoots or some mixed veggies and eat with hot steamed rice or rice noodles.  It’s kind of Thai style comfort food I’d grown up eating all my life. It’s just really hit the spot!

There are many different kinds of coconut-based Thai curries – red curry, green curry, yellow curry, as well as masaman curry and panang curry.  The former four curries are soupy curry types, the ladder, the popular panang curry, is creamier than the other curries, and easier to make with few ingredients.   
Panang curry typically can be made with beef, pork, or chicken meat.  However, there is no limit of what kind of meat you would like to use. (Wild boar, rabbit, or bison….go for it!)   Panang curry is made usually only meat without any vegetable add into it.   Since I have kabocha squash in hand and I love eating it so much, I added into my panang this time which made my panang even more creamy and dreamy awesome!   The essential ingredient to this panang that “must include” is the kaffir lime leaves.   And if you notice, there is no oil using in my recipe.   Why?   Because the coconut milk will render and release its oil when frying on the hot pan.   If you ever eating panang at the Thai restaurant and find some fatty greasy oil floating on the top so the curry looks "pretty," you can be sure that panang has some cooking oil added, which i don't like it.  This issue has led to a misconception to some thinking that Thai food is greasy!   


Can Thai basil be used as a substitute?   Yes, you can BUT the distinctive taste and fragrant of kaffir lime leave is the essence of panang curry.    I used to get a question asking… which curry is the spiciest of all?   To be honest, there is none!  Thai curries are not spicy at all.  Some Thais even add some more dried chili flakes to make it even spicier.   It is all only the heat from all the spices in the curry paste that gives the curry a unique taste on its own.  The curries are normally seasoning with fish sauce and palm sugar, and that’s it, more or less depends on which curry you are making.    
Notes to the use of fish sauce:  If you are not comfortable using fish sauce or do not have it, you can use salt.   And sea salt is better than regular table salt.   I would not recommend using soy sauce because the taste wouldn’t be the same.  But if you only have soy sauce in hand, use it and try it.  You will know why I don’t recommend using it.   Believe me.  The taste would not be the same!    
Let’s cook! 


What you need:  for 2-4 servings

400 g. pork tenderloin sliced to bite size
2 tbsp. panang curry paste – I used Maesri which can be found at Asian supermarket
1 can/13.5 fl.oz. Coconut milk – I used Chao Koa
2 cups Kabocha squash (or other squash you have), cut to bite size
2 tbsp. fish sauce
1 tbsp. sugar
4-5 leaves kaffir lime leaves, thinly chiffonaded
2-3 red chili (such as red serrano peppers) seeded and thinly sliced
And steamed white/brown rice to be served with the Panang


1. Reserve 3 tablespoons of coconut milk aside for garnish.
2. Set a medium pan over medium low heat.  When the pan is hot, add 1/4 cup coconut milk into the pan as it will get a little sizzle since the pan is hot.  Stir in panang curry paste until they are well combine and fragrant.  Add a little more coconut milk and stir.  When it gets bubbles, add pork slices, stir, and cook for 2-3 minutes.
3. Add the rest of coconut milk, squash, fish sauce, sugar, half portion of kaffir lime leaves chiffonaded, and stir to combine well.  Let it cook for another 7-10 minutes or until the pork and squash are cooked.

4. Serve with drizzling of the reserved coconut milk over Panang and garnish with kaffir lime leaves chiffonaded and red chili on top.  Serve with steamed white/brown rice.  Enjoy! 


Friday, February 6, 2015

Rainbowy Chopped Salad


We all need some colors in our lives to feed our body and soul.  Life without colors is like eating food without flavors.   Well, that just sounds boring, isn’t it?  

My oh-so-good-for-your-body-and –soul chopped salad today is buzzing with beautiful and gorgeous colors.  It’s not exactly a recipe per se as it’s too easy to put together.  You can make it ahead and keep it in the fridge and eat for lunch for a few days.   It’s great with any proteins of your choice or even having it alone by itself for those who prefers meatless.   Also, there is no limitation on using any kind of fresh veggies you have on hand.  I just wished I had garbanzo beans in mine but I ran out of them this time (as I still tried to get over the missing of my favorite beans


The dressing itself is as easy as tossing together the chopped veggies.  The basic is just the combination of oil, acidity of rice vinegar, lime, or lemon, and salt and pepper.  Other spicy stuff is just the addition for your own liking.   The trick is that this salad needs to be chilled in the fridge for at least 30 minutes to give all the flavors a chance to socialize and getting to know each other’s.   This refreshing salad may look like a summer salad.  But who said you can’t eat summer salad in the winter.   


Do I have to say how healthy this salad is?   Look at the combination of the colors.  It’s stunningly nutritiously beautiful!  


What you need:  for 4 servings
The dressing:
5 tbsp. Rice vinegar
1 tbsp. sugar (or honey)
2 tbsp. olive oil
1 tbsp. chili sauce
1/2 tsp. salt
1/2 tsp. ground black pepper
1 tbsp. garlic, finely chopped
1 tbsp. fresh ginger, finely grated or chopped
: Whisk together all the ingredients until the sugar I s dissolved and set aside.

The veggies:
1 cup cooked sweet potato, chopped – peeled and cut sweet potato in small cubes and cooked in boiling water for 5-7 minutes just they are still firm to the bite and immediately rinse and put them in the ice bath to stop cooking and preserve the color, drain and set aside.
1 cup shelled and cooked edamame or soy beans – cook the frozen soy beans in boiling water for 5 minutes and give them an ice bath to preserve color, drain and set aside.
1 cup Persian cucumber, chopped
1 cup corn (from the can or cook fresh)
1 stalk celery, chopped
1/2 cup or 2 small mini sweet pepper, chopped
1 cup grape tomato, halved
1/4 cup red onion, thinly sliced
1/4 cup parsley, chopped  

: Add all of the chopped veggies in a large mixing bowl, except the chopped parsley as it will be added at the end, and pour over the dressing and gently toss together to mix well.  Refrigerate the salad for at least 25 minutes before serving. 


Thursday, February 5, 2015

Garlic Pepper Prawns


By far, this garlic pepper prawns is the easiest dish I’ve ever cooked.  It takes less than 20 minutes from the start to the end (if you buy already cleaned prawn and unthawed them in time).    The hubby got these jumbo shrimps because he wanted tempura.  Prawns tempura sounds good and I love eating them, but, you know, making tempura is very involved in many steps and taking some time to make it crunchy perfect.   Nobody likes to eat soggy tempura.  Right?  And I felt so lazy at the moment.   So, I tried to convince him about how much time it’d take to make tempura, or “there is not enough oil for frying,” or “I don’t feel like eating fried food tonight!”   So he said, “Alright! Just cook whatever you want.”    
Honestly, I was thinking of making Thai soup or pasta with these prawns.  But the hubby seemed to have something else in mind.  So, I came up with the way to cook them as quick as possible.   This dish used lots and lots of chopped garlic.  If you don’t like garlic, you might not really care about this dish.  But the hubby and I LOVE garlic.  Or I’d say we can’t live without our beloved garlic!     


And while these prawns were dancing in the pan with a whole bunch of garlic, the whole house smelled like garlic heaven!  To me, nothing can beat the fragrant smell of fried-garlic, in a good way.   
Oh!  And the garlic pepper prawns was amazinglicious! 


What you need:
2 1/2 lb. large prawns (jumbo shrimp), unthawed if frozen, cleaned with shells attached
2 tbsp. Mexican Chicken seasoning (yes, it worked great with seafood!)
3 tbsp. chopped fresh garlic
1 tbsp. ground black pepper
1 tsp. sugar
1 tbsp. fresh chopped parsley or dried
2 tbsp. canola oil or butter

1. With prawns in a large bowl, add the seasoning, ground black pepper, chopped garlic, and sugar, then toss to mix well.  Let it set for 10 minutes. 
2. Set a large frying pan over medium heat, then add oil or butter. When the pan gets hot, add all of the prawns into the pan and cook 3-4 minutes on each side by turning once. (*since the shrimps can be cooked quickly, they only need little time to cook as this can be noticed when its shells turn to orange color)
3. When all the prawns are cooked, turn off the heat and sprinkle with chopped parsley and enjoy!


Sunday, February 1, 2015

Chocolate and Matcha Green Tea Cake with Strawberry Cream Cheese Icing


Hello February, the happiest month of all!   Here’s why.  The month starts with my birthday on February 1st, I celebrate.  Then on February 14th is the Valentine’s Day, I (and everyone else) celebrate.  Follow by the Chinese New Year on February 19th, I (and everyone including non-Chinese) celebrate.  (There are also Abraham Lincoln’s birthday on Feb. 12th, the President’s day on Feb. 16th, and Mardi Gras on Feb 17th where people around the world celebrate in the most magnificently colorful and fun way!)   Now you understand why I say February is the happiest month of all!    Hooray for that!


Every year on my birthday, I will usually bake my favorite chocolate cake, every time.  And this year is no exception.  Recently, however, I am craving for Matcha green tea a lot.   When I hit Starbucks to meet up with my girlfriend lately, I’d order hot soy green tea latte, instead of my usual coffee mocha I used to love.  Sorry coffee mocha, I still love you BTW!   Anyway, my birthday cake this year I couldn’t decide what I really want, chocolate cake or Matcha green tea cake.  After I’d been thinking back and forth for a couple of weeks, I decided to make both!   Why not?    And I’d never baked green tea cake before.  So, it’s about time!  


I've come up with this easy recipes for both chocolate and green tea cake which they are almost identical, except for a few things different as I adjusted while I was mixing up the batter.    Honestly, I was not even sure about the result and this cake was not in my intention to be posted.    But I changed my mind after I finished a big piece because the cake came out soooooooo good, moist, soft, and awesome.  And the strawberry cream cheese icing just gave the cake that “wow” effect and it’s just right!  (I wanted to say “perfect” but there’s no such thing is “perfect.”   I stopped!)     It may sound so exaggerated because of my crazy for chocolate and green tea.  But if you tried it once, you would probably agree with me.    Let’s do it! 


For chocolate:
1 cup cake flour
3 tbsp. cocoa powder
1/2 tsp. baking powder
1/8 tsp, salt
1 large egg, room temperature
3/4 cup sugar
4 tbsp. butter, soften
1/3 cup milk
4 tbsp. hot brewed coffee
>> Preheat the oven to 350’ F and grease the Bundt cake pan with butter, set aside. 
1. In the medium bowl, sift together cake flour, cocoa powder, baking powder, salt, and set aside.
2. In the medium mixing bowl, beat the butter and sugar with a handheld mixer until the sugar look fluffy for about 4 minutes, then add an egg and continue beating until the mixture turn yellow pale, about 4 minutes.
3. Add in half of the sifted flour and beat just to combine. Then the milk and hot coffee, beat to combine. Add the rest of the flour and beat until the batter is well blended smoothly.


For green tea:
1 cup cake flour
1/2 tsp. baking powder
1/8 tsp. salt
2 tbsp. Matcha green tea powder
3/4 cup sugar
4 tbsp. butter, soften
1 large egg, room temperature
1/2 cup milk

1. In the medium bowl, sift together cake flour, baking powder, salt, green tea powder, and set aside.
2. In the medium mixing bowl, beat sugar and butter for 4 minutes and add an egg and beat another 4 minutes until it turns in pale color.
3. Add half of the sifted flour and beat just to combine.  Then add milk, beat to combine. Add the rest of the flour and beat until the batter is well blended smoothly.

Bake at 350’F for 35-40 minutes: at this point, you decide with you own imagination which batter you want to put in first.  There is no rule for that.  But my green tea batter was a little thicker than the chocolate batter.  So, my chocolate batter went in the cake pan first and then the green tea batter which I smoothed it out a little before I put it in the oven.   Bake the cake at 350’F for 35-40 minutes or until the insert come out clean.   When the cake is baked, let it cool down before pour the icing on top and garnish with some more fresh strawberries as much as you like.   Enjoy!


Strawberry Cream Cheese Icing
1 cup fresh strawberry puree
1 stick (1/2 cup) butter, soften
8 oz. Philadelphia cream cheese
2 1/2 cups powdered sugar, sifted
1/4 tsp. vanilla extract (optional)

**Some fresh strawberries for garnish


Related Posts Plugin for WordPress, Blogger...